Advice on pointing. Step by step guide to using hydraulic lime mortar for repointing work
M Womersleys’ advice on re-pointing with Hydraulic Lime mortar
When choosing the appropriate strength of hydraulic lime for repointing older brick and stone, it's essential to consider the specific characteristics of the masonry, the existing mortar, and the environment. Here are some guidelines to help you select the right strength of hydraulic lime.
Types of Hydraulic Lime:
Feebly Hydraulic Lime or NHL2 (High Lime Content): This mortar has low strength, approximately 1.5-2.5 MPa (megapascals) and is best for softer brick types or very soft and friable stone. It provides maximum flexibility and breathability, making it ideal for older buildings.
Moderately Hydraulic lime or NHL 3.5: This mortar has medium strength, approximately 2.5-5.0 MPa. It is suitable for most repointing projects involving moderately strong bricks and stones. It balances strength, weather resistance and flexibility and retains a good degree of vapour permeability.
Eminently Hydraulic Lime or NHL 5: This mortar has higher strength, approximately 5.0 MPa and above. It is generally used for sturdier masonry materials that require greater binding strength. It provides durability for very exposed areas, roof works and chimney stacks but may not be as flexible as lower-strength options.
The NHL2 or NHL3.5 bound mortars are generally recommended for repointing older buildings, as older bricks and stones are often softer and more porous. These types allow for better breathability and can accommodate small amounts of movement without cracking.
M Womersleys can carry out a dissolution analysis of the existing mortar joint and suggest a suitable replacement. Replicating the original mortar's properties is vital for maintaining the building's integrity and aesthetics. This, together with the strength and density of the stone or brick that the building is built with, traditional local building methods found in your region and the degree of exposure to the weather, all determine the choice of a mortar.
If the climate is particularly harsh or the masonry is exposed to moisture, consider using a slightly stronger hydraulic lime NHL3.5 while prioritising breathability.
NHL2 or NHL3.5 hydraulic lime binders are generally recommended for repointing older brick and stone. Always prioritise compatibility with existing materials and consider the specific conditions and characteristics of the structure you are working on. When in doubt, consulting with a conservation specialist such as M Womersleys can provide valuable insight into the best choice for your project.
Pointing with hydraulic lime mortars is a traditional method used in masonry repair to preserve brick and stone work's structural integrity and aesthetics. Here’s a step-by-step guide to help you through the process:
Materials Needed:
- Hydraulic lime mortar mix (available pre-mixed, or you can prepare it yourself). On our training days, we often mix one part Ionic Old White Lime (NHL3.5) with one part Leighton Buzzard sand and one and a half parts Nosterfield sand.
- Water
- Bucket, gauging or mixing trowel
- Pointing irons (perhaps two or three) so you always have one slightly narrower than the joint you are pointing up.
- A small or large hawk (for holding the mortar)
- Lump hammer and plugging chisel (for removing old mortar)
- Churn brush (for cleaning joints, stippling mortar and finishing off)
- Bucket (for mixing mortar)
- Protective gear (gloves, safety glasses, mask and eye wash)
- Moisturiser (to apply before you start work)
- Plastic sheeting or tarps (to protect surrounding areas and the work if the weather turns wet)
Step-by-Step Guide to Pointing with Hydraulic Lime Mortars:
Step 1: Preparation
- Assess the Condition of the Joints: Inspect the mortar joints to identify areas that need repointing.
- Gather Materials and Tools: Collect all materials and tools needed for the job.
Step 2: Remove Old Mortar
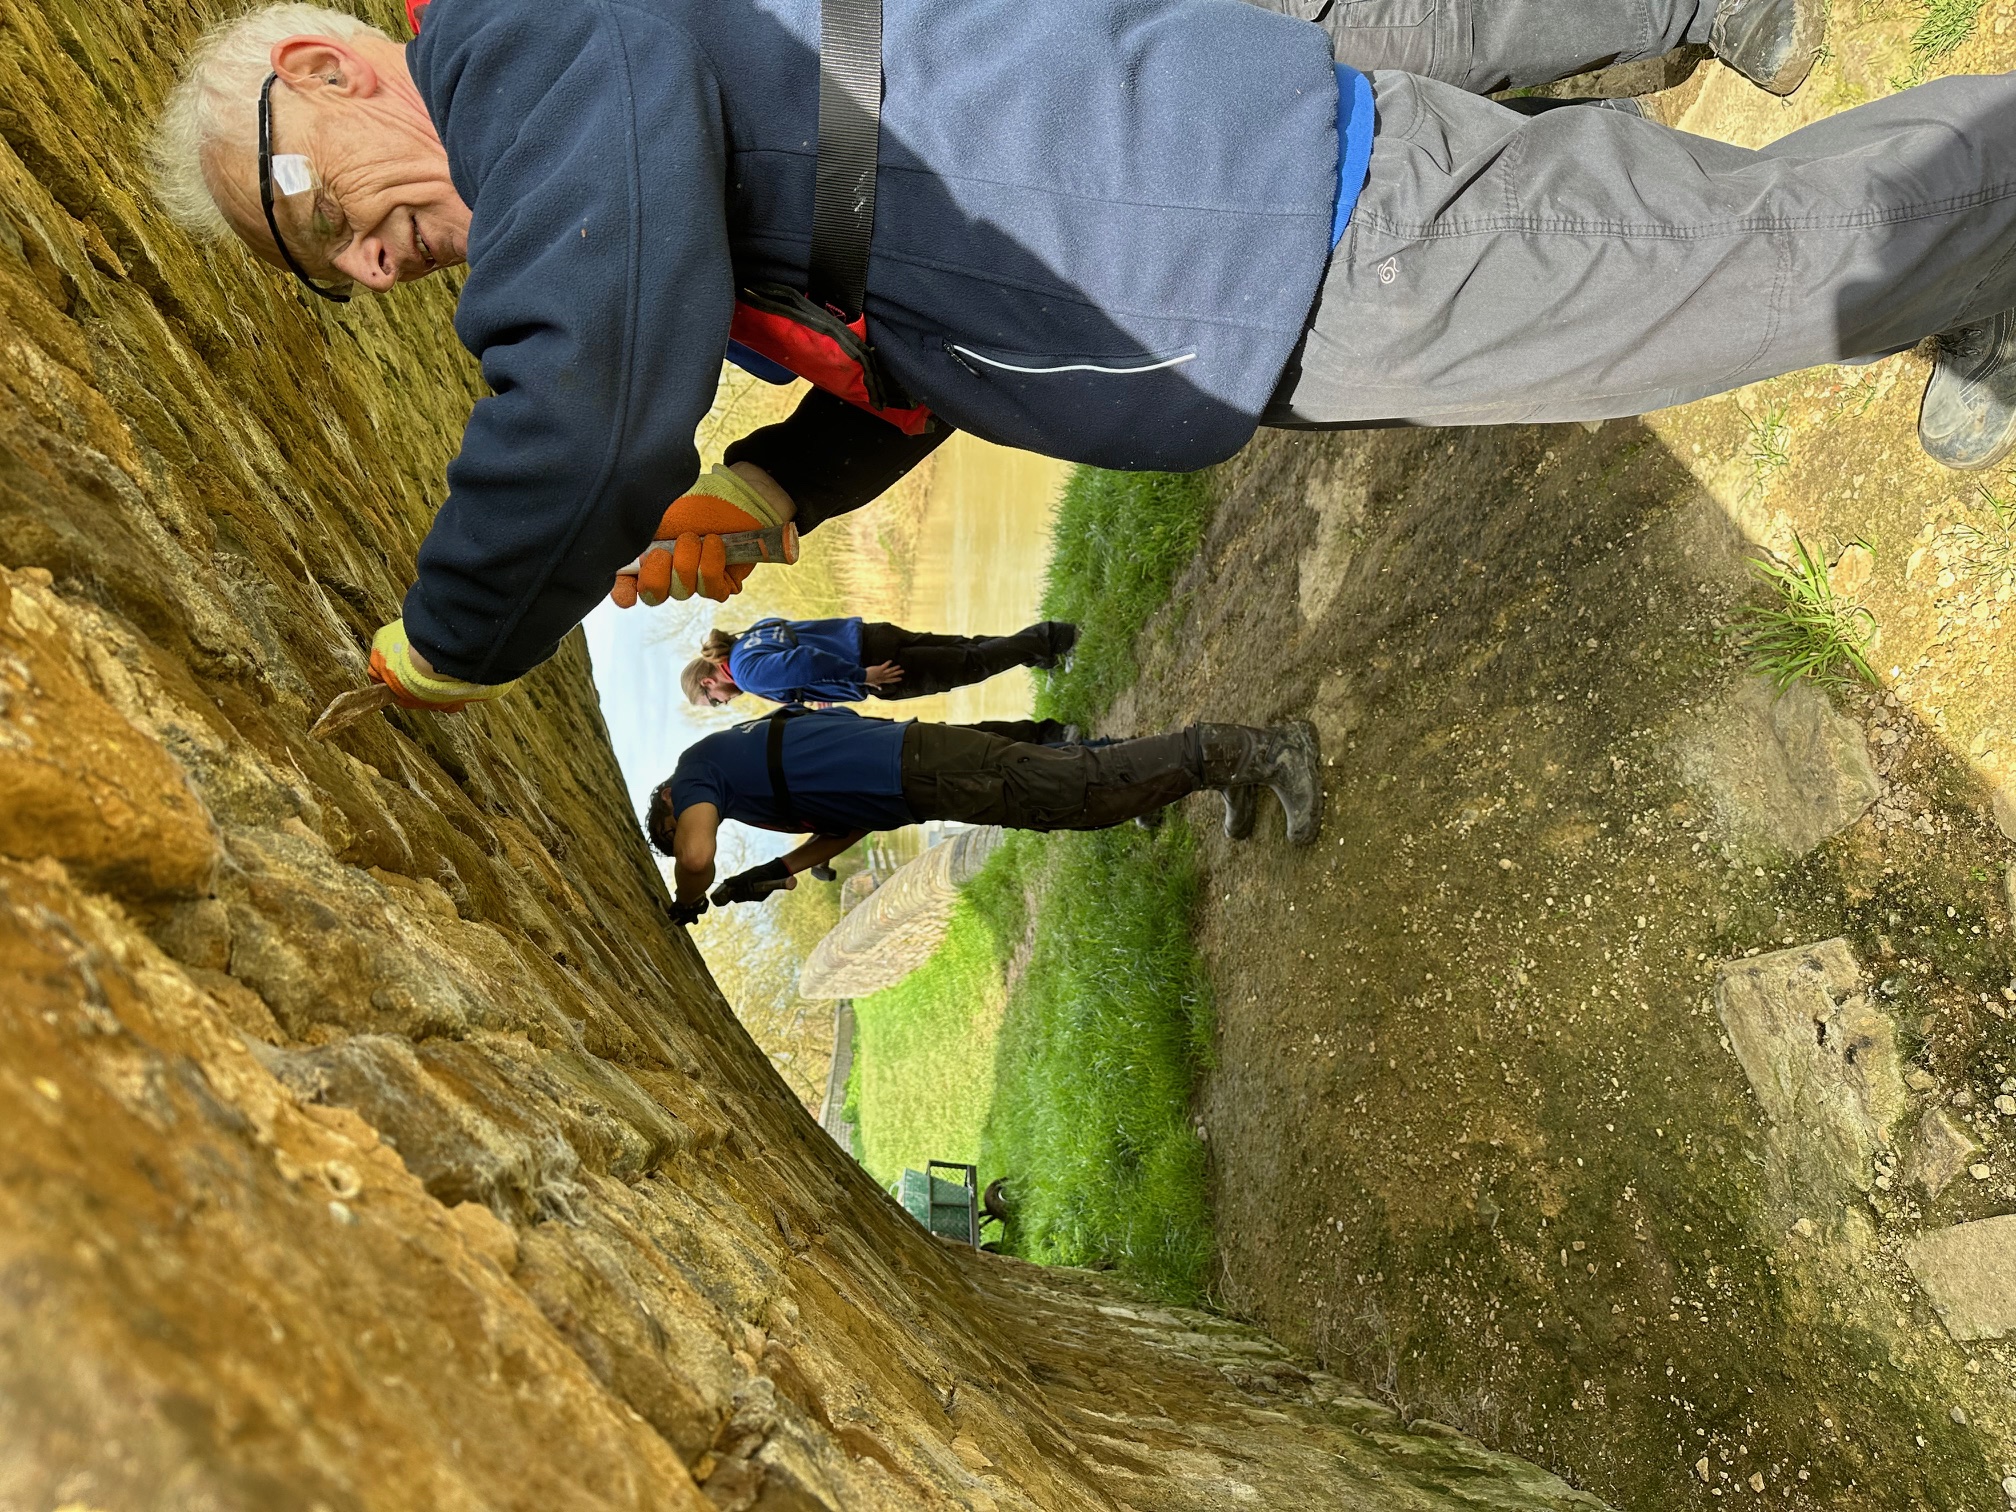
Chisel Out Damaged Mortar: Carefully remove the old, crumbling mortar from the joints using a hammer and chisel. Aim to create clean joints up to 10-15 mm deep in narrow-width joints and 20-25 mm deep for joints over 10 mm wide. Be cautious not to damage the surrounding bricks or stones.
- Brush the Joints: Once the old mortar is removed, use a church brush and water to remove any dust, debris, or loose particles from the joints. Work from the top of the wall down, removing/ washing debris right to the ground.
Step 3:Prepare and Mix the Hydraulic Lime Mortar
- Follow Manufacturer’s Instructions: If using a pre-mixed hydraulic lime mortar, prepare it according to the instructions on the packaging. If mixing your own, combine hydraulic lime with sand (typically a ratio of 1 part lime to 2 ½ or 3 parts well graded sharp sand) in a bucket and add water until you achieve a smooth stiff but workable consistency. The mortar must be fatty but NOT wet.
- Let it Mature: Allow the mortar to sit for a short period (typically around 15-20 minutes) before using it, as this can enhance its characteristics.
Step 4: Dampen the Joints
- Wet the Joints: Lightly dampen the cleaned joints with water before applying the new mortar. This helps improve adhesion, prevents the lime mortar from drying out too quickly and allows it to set properly.
Step 5: Apply the Mortar
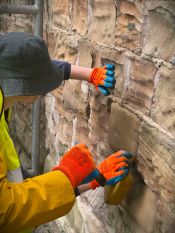
- Fill the Joint: Using a pointing iron, scoop up some hydraulic lime mortar from the hawk and press it firmly into the joint. Ensure the mortar is level with the surrounding bricks or stones and adequately fill the joint without leaving voids.
Stipple back: After the mortar has had an initial set, between one and four hours, use a dry churn brush to stipple it back and beat it back with force into the joints. Inspect the joints for any gaps that may need filling. Press additional mortar into any uneven spots.
Finishing the mortar: After 4 to 12 hours, use a churn brush or tool to hard brush or scrape the mortar back slightly to expose the aggregate, open up the texture more, and remove any remaining surface deposits of lime.
Step 6: Finishing Touches
- Clean the Surface: If any mortar has smeared onto the bricks or stone, gently clean it using a damp sponge or cloth to avoid staining. Do this while the mortar is still fresh.
Step 7: Curing
- Curing Period: Allow the new mortar to cure properly. Keep the mortar damp (if possible) for the first few days after application to enhance strength and performance. Mist it lightly with water if needed, especially in dry conditions. Protect the area you have worked on from heavy rain for the first few days.
Additional Tips:
-Work in Small Sections: It’s advisable to work in small sections, especially in hot or windy conditions, to prevent the mortar from drying too quickly.
-Protect Your Area: Use plastic sheets or tarps to protect surrounding surfaces from mortar splashes and spills.
Safety First: Always wear protective gear (gloves, safety glasses, masks) when working with lime to prevent skin and respiratory irritation.
Conclusion
Repointing with hydraulic lime mortars is an essential maintenance task that contributes to masonry structures' longevity and appearance. By following these steps, you can effectively restore the joints while maintaining the character of the original building.
Related Articles

Conservation cleaning, metal work and masonry repairs at the cemetery of St John the Divine
M Womersleys have just finished assisting students and tutors with conservation cleaning, metal work…

Guidance Sheet for burning lime, quenching, slaking and using lime for conservation work in Antigua
M Womersleys Ltd assisted the Harrison Centre to allow them to construct an active lime kiln in their…
The steps members of the Waterton’s Wall restoration team, with support from Mark Womersley, have been following to consolidate, conserve and repair this historic wall that represents the successful efforts of Charles Waterton to preserve the wildlife that lived on his estate near Wakefield in West Yorkshire.
1. Fill deep voids behind the wall’s facing stones with deep pointing work. The works involve …